Translate

Tuesday 10 September 2013

Tiny update

Sorry been a way a while stile doing small prints to calibrate it but at moment stuff is going on and my mind is some where else so im taking a couple of months of continuous working on my printer as i need to take a step back and evaluate my progress so far


this is a shower fix for a friend at work

and a whistle that i had infill problems but i have slowed it down on slicer so hopefully that will solve the problem

Saturday 10 August 2013

Trials and Tribulations

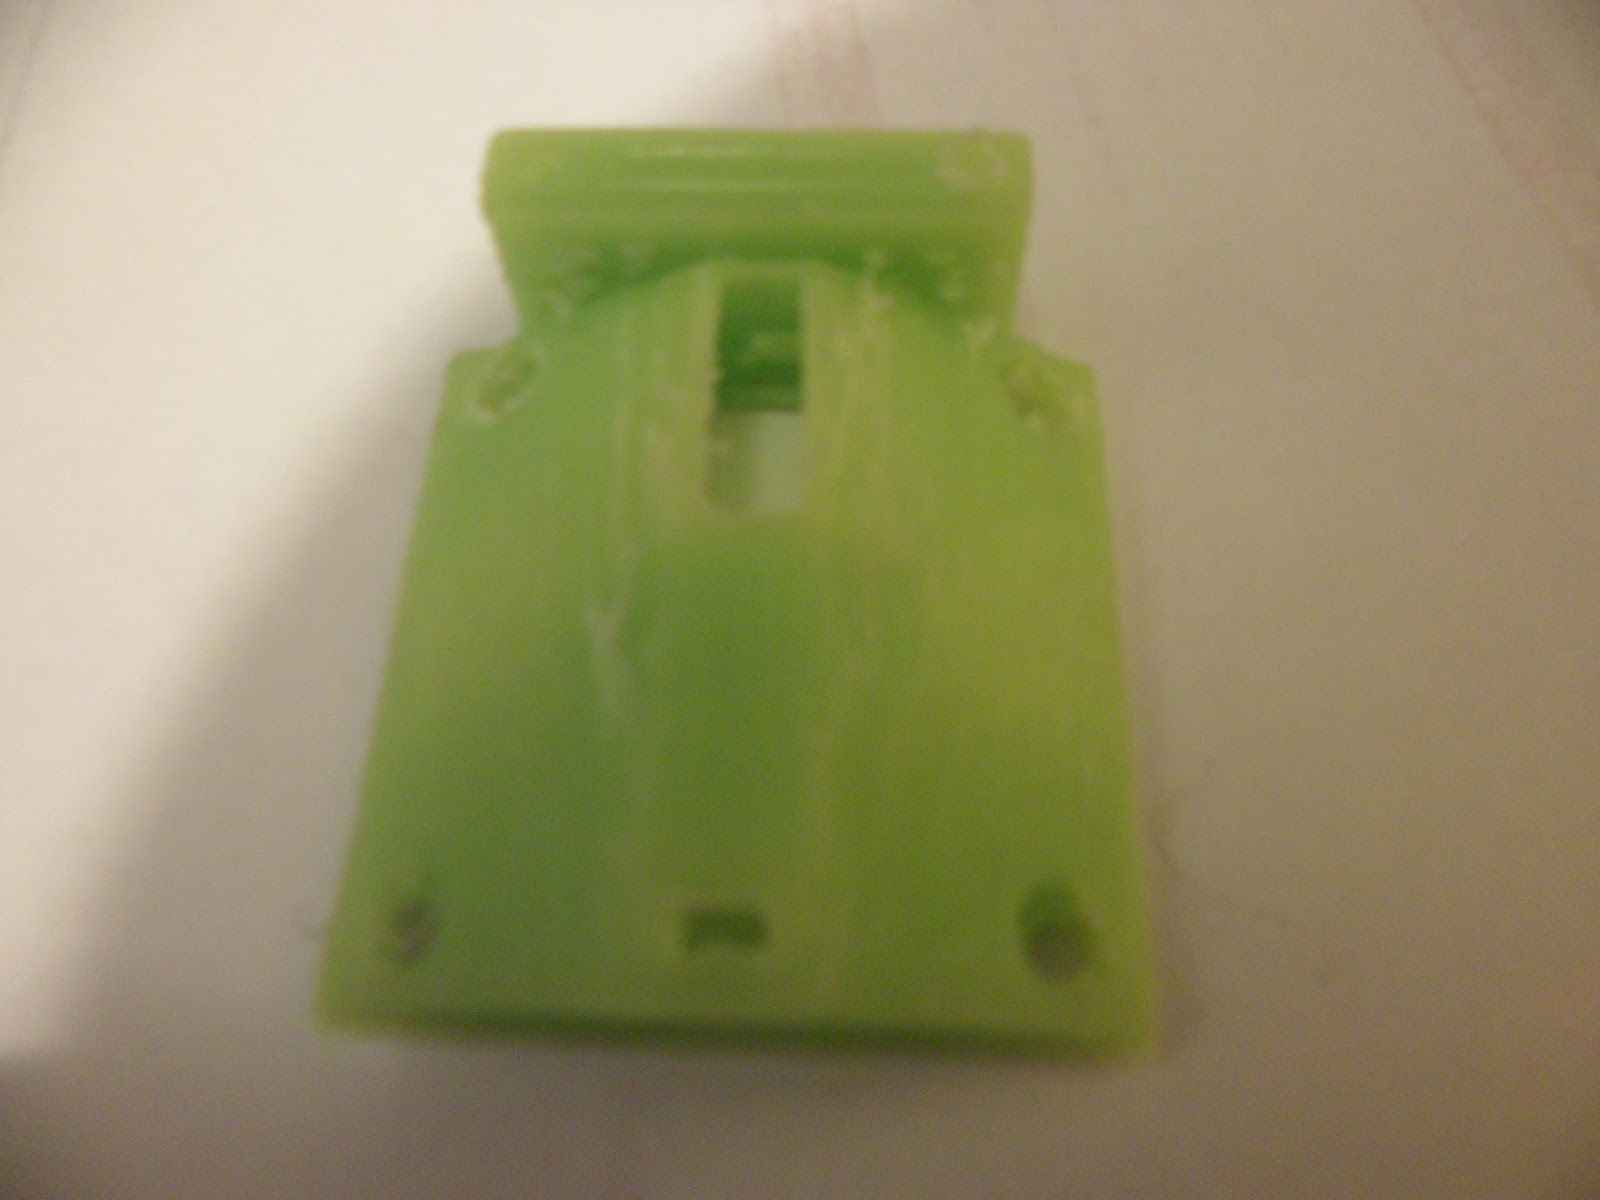
Well after the calibration 25mm cube looked good i  thought id get straight into printing but i realised stuff aint just as simple as i found out when i broke my z top  hence in the picture a new one printed
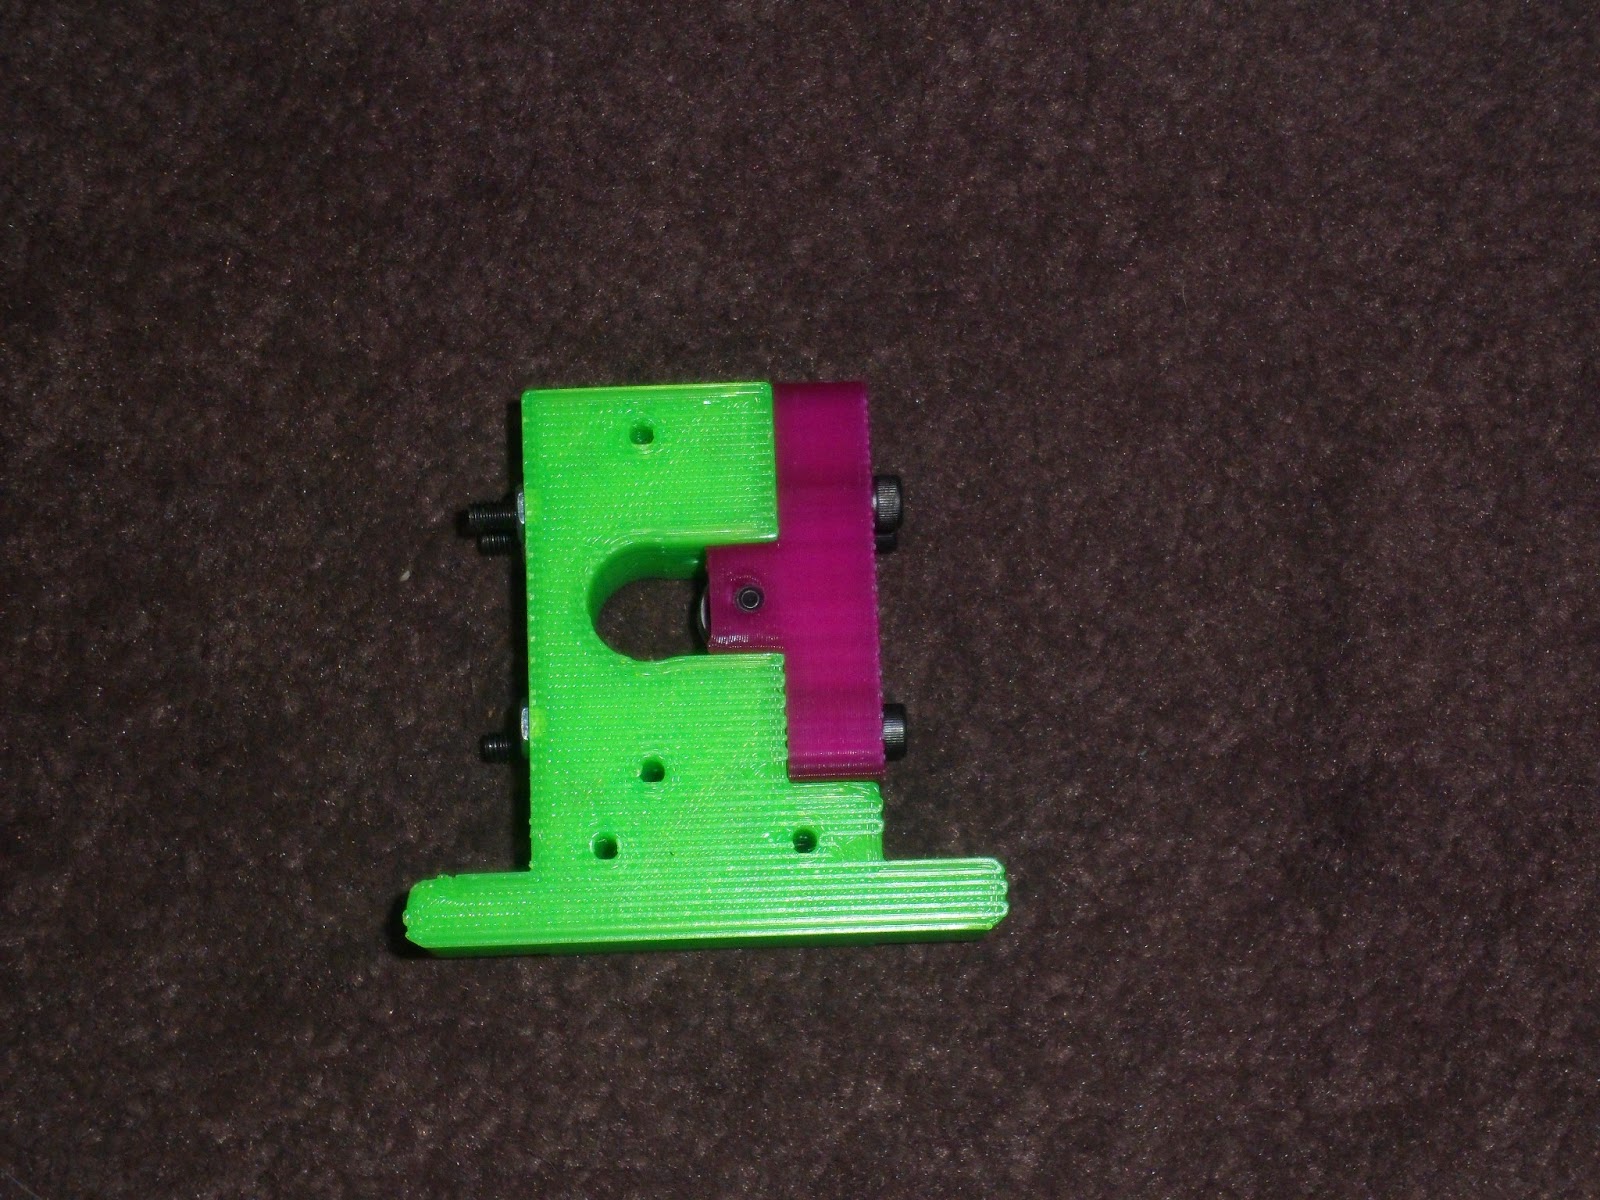
i also ditched the duct fan i feel the temps of j head barrel are as norm no problems there, i had issue with the brass nuts on z but luckily it threaded but not the rods luckily also tightened the belt up on this bridged part which I held my breath for but it went ok part works

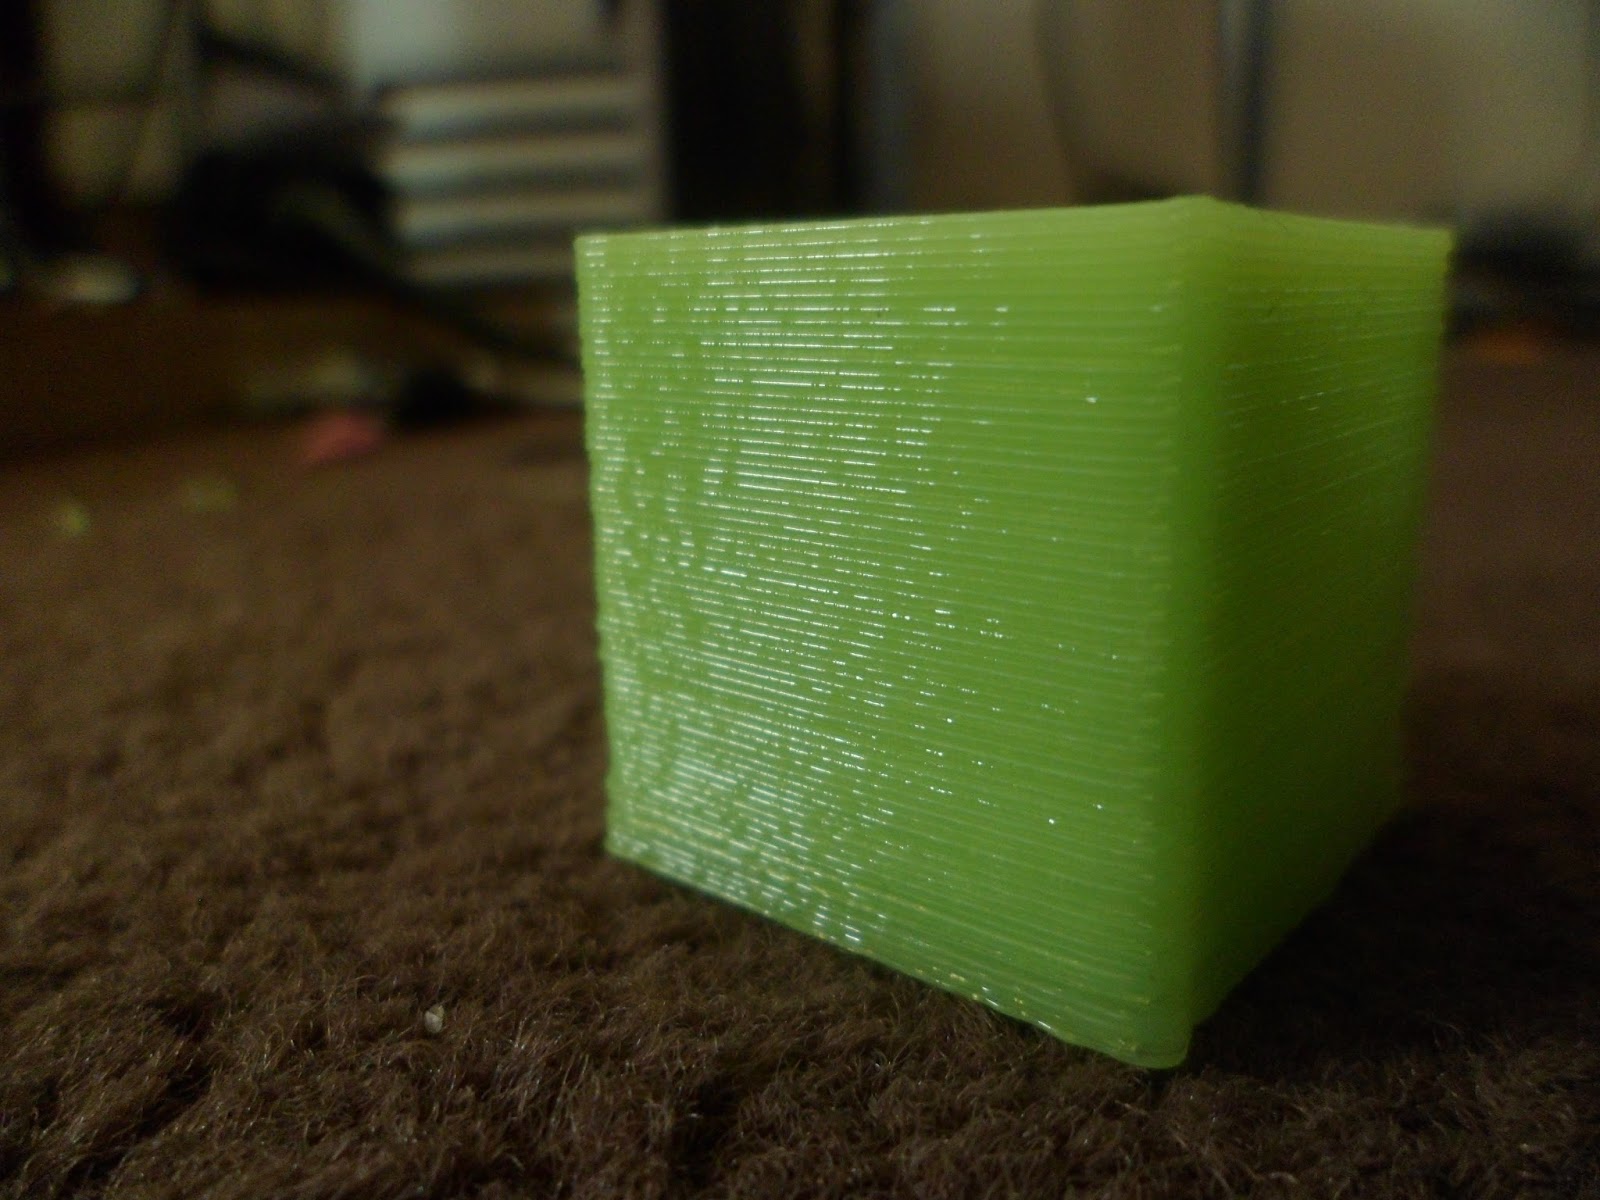
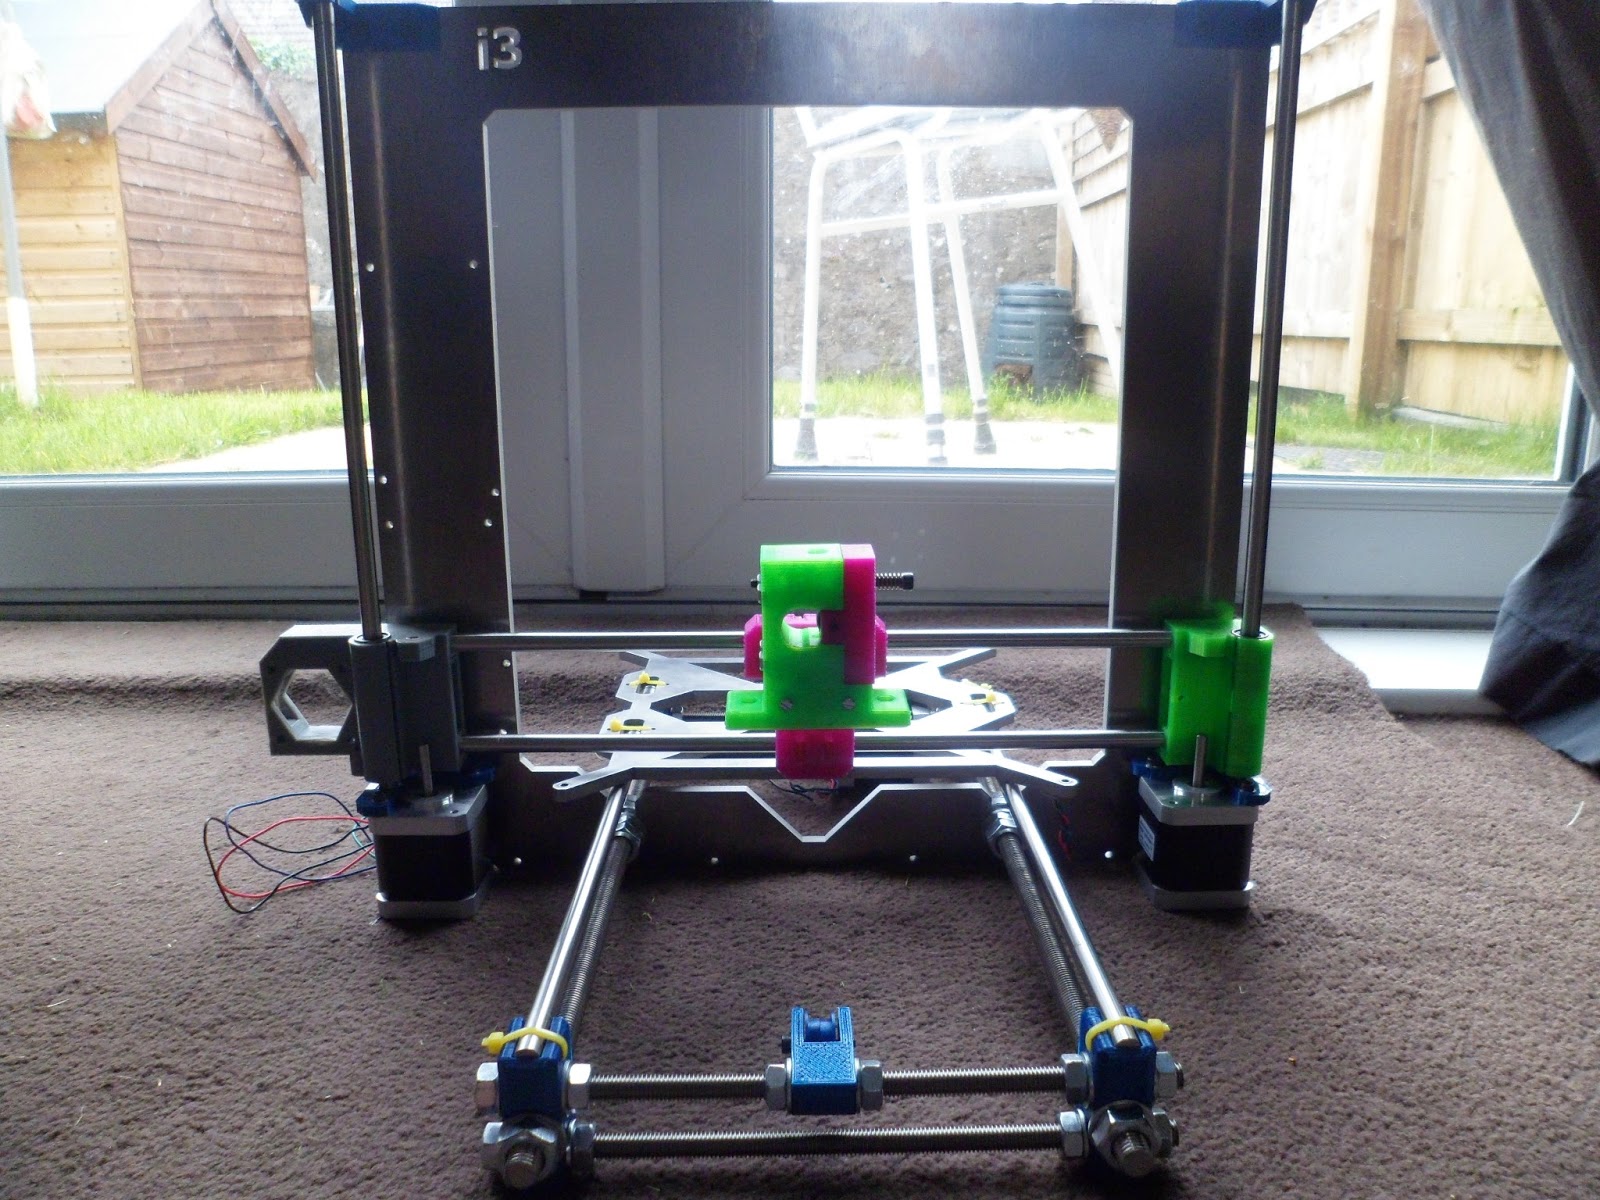
i attempted the y plate belt holder twice one with wrong tooth spacing and one which was it'll do so calibration prints as a part arrived which is very nice but to mine difered so i started back to basic with single wall box after messing up the firmware here are the pics even my missus helped to thankyou babes
heres a collection

anyway the top right corner was the last print before someone turn of retraction and re print so i did and heres the result 

Its good no breaks I know I am extruding too much plastic this was at 0.4 layer heights and width was set at 0.53 now the look at the fist is squished and the width of the walls was 0.63 so my diagnosis should be lessen the E steps as i know i have set it high on purpose because earlier attempts indicated that not enough was being extruded and where i recently i changed the value from 867 steps to 667 and that was from measuring 100mm at the start of calibration to work out correct e steps which was 667.14 so on..
but doing this test showed that was way out so i put it back to normal which i will calibrate next oh it deformed cos I never really let it cooled when I was taking it of plate


Friday 2 August 2013

The Big Day

THE BIG DAY ARRIVED......

Well my filament arrived on time then i got cracking once I got up from having a nap from night shift, I had trouble levelling the bed from 0,0,0 as 200, 0, wast highest once tight so i went that way corner too corner and put bolt then nut then spring then bed then locking nut, as i had it before bolt, bed spring and just locking nut but it was fiddly trying to hold the allen key while turning the locking nut, i got that done i change a maker gear to another one as the new one was deeper and seemed to work better
then took my hotend of and did the extrude 10cm measure then do the sums to change the esteps which has worked just may need slight tweek on all axis i replaced everything and thought i give the perimeter test a try epic fail did do what it should of done so i decided to try this instead
http://www.thingiverse.com/thing:45225

Heres a couple of pictures

Then i thought hey Who dares wins as ive just watched only fools and horses ill try the fand duct i designed for my extruder http://www.thingiverse.com/thing:82412
first attempt failed do to filament spool fell on the base my printers sat on so i restarted and didnt turn out too bad bridging is my problem but thats prob down to speed settings as theese are printed from basic settings in slicer

Heres some pics of the fan duct


So i thought id best test it ou so i thought id clean up the cable tied fan on extruder stepper so i download this http://www.thingiverse.com/thing:82412 to check if the fan will cool the j head barrel and the object to see if it doesnt on the object i will see quality issues on print. also i had to change the controlled fan as the one original on the motor wired to be on constant was swapped around i will get around changing it over.

heres some pics of the motor fan holder/duct 


heres some pics of the fan attached and on the printer 


ok thats me done for today its been a long one


Friday 28 June 2013

amazing technology finds


Id thought id do yet another partial uncompleted post but will try to update it when necessary  there is a lot of technology out there for makers which I like, for instance the laser origami,you guys probably whats so wow about it well, as working with a cnc press brake   with sheet metal I am sure that you could use it in a same way but plastic the use for this in the way I would like to take this whole experience of reprap 3d printing would be able to make enclosures for the machine I build


This one is another find which has to mentioned, the possibilities are endless how about spending money on a machine which basically do wood work, ok I fancy a new coffee table umm, I think you know where im going with that one here is the link for the kick-starter too Handibot


Thursday 27 June 2013

Endstops


My endstop placings

Heres how i have my endstops too my knowledge + and - does not matter which way but i have mine as shown in reds in the below picture.

 my endstops are wired this way 


now this probably depends on what machine and how you want to run your setups, as some have the z endstop placed at the top, in my case i want a probe system in the future